9 Most Common Mistakes in Product Photography and Pro Suggestions to Avoid them
Are you paying close attention to product photography to improve your business? E-commerce product photography is a powerful tool to trigger your customers’ buying decisions and to make them more likely to purchase. However, some common mistakes in product photography can ruin the game for you.
As we don’t want you to make mistakes, we recommend you read this blog first. This will save you resources and time. Well, we are not here to point out your flaws but to guide you through the way. Have a look at what’s waiting!


The maximum aperture of a lens enables a substantial amount of light during a photo shoot. Also, it provides a satisfactory ‘depth of field’ to your product photos. Aperture settings between f/5.6 and f/16 will produce excellent sharpness for your product in the photo.
How Photoshoot ruins
- Blurry focus ruin the mood
- Trap of compulsive cropping
- Lack of preparation
- Shorten in the online presentation
- Shadows and reflections go unchecked
- Missing uniformity of Backgrounds
Letting blurry focus ruin the mood
Often, product photographers mess up the ambience by using blurry camera views. If we compare two images where one has a crisp, well-defined subject and the other has a blurred or unclear one, which one will get the highest vote? Of course, the first one. These qualities (image sharpness and clarity) cause an immediate sensation of satisfaction.
In that case, you should consider setting the optimum F-stop (aperture) while taking snaps. For most images, a higher aperture setting creates sharper details.
Well, you may ask, what makes a lens’ maximum aperture so essential?
The maximum aperture of a lens enables a substantial amount of light during a photo shoot. Also, it provides a satisfactory ‘depth of field’ to your product photos. Aperture settings between f/5.6 and f/16 will produce excellent sharpness for your product in the photo.
Nevertheless, test the lens you will use for your product photoshoot beforehand. Lastly, a tripod will ensure further steadiness instead of hand-holding the camera.
Not taking enough photos
During product photoshoots, taking too few pictures can get you into trouble. Then again, how many are enough? Now here is the golden rule.
It will help if you take more shots than the actual requirement. Also, take multiple shots from the same angle. Combine the images, which include both close-up and distant shots.
All those extra shots only take a few moments; however, it is better than running out of relevant images later. Thus, taking multiple pictures of your products from various angles will let you show details about the product to potential customers.
Falling into the trap of compulsive cropping
Sometimes, you will notice product images with a mixture of different layouts (landscape and portrait) or some significant size variations. And that is, obviously, not a pleasure for the eyes.
A consistent outlook on product photographs is a must when you are at it. This is because products showing varying sizes and directions can ruin site visitors’ first impressions.
Therefore,
● Maintain consistent focal length while shooting and avoid multiple cropping.
● When uploading product pictures to different websites, follow their image uploading guidelines.
● To add, try creating a template in your photo editing tool instead of making the same changes every time. That will enhance further consistency and streamline your workflow.
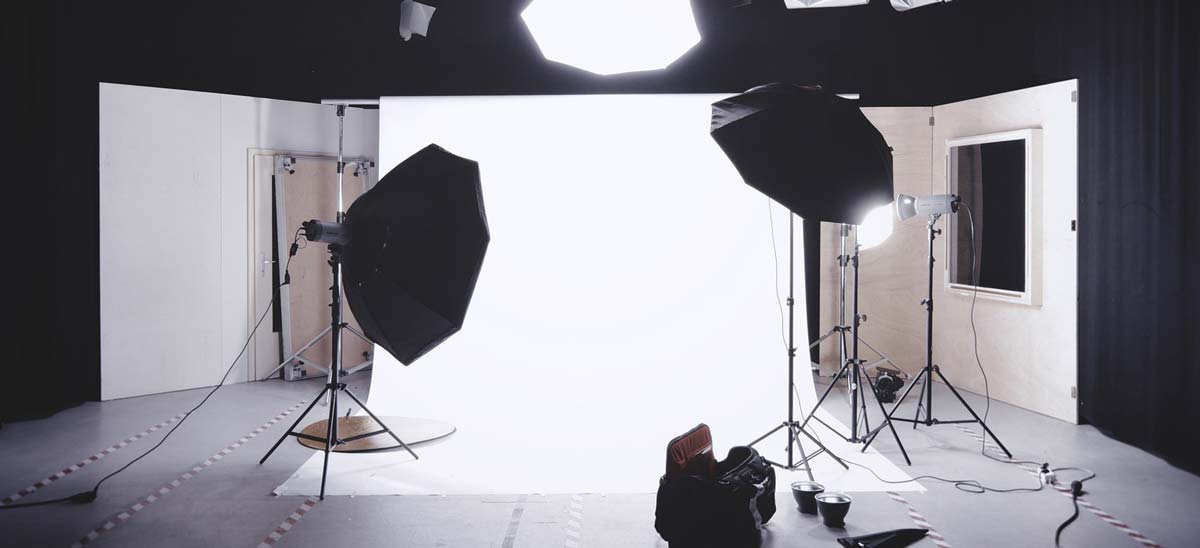
Lack of preparation during a photoshoot
On the above issue, here is our two cents. The root cause of poorly executed product photoshoots is the lack of effective planning.
An unattractive and unprepared product display causes the customer to feel annoyed. Thus, it can cost you a potential buyer in the long run.
Even if your product quality is top-notch, these negative impressions could backfire on your entire shooting segment. Therefore, while prepping the photoshoot items, make sure to follow the checklist-
● The product should be clean.
● Any garment-related product should be crease-free.
● Furthermore, be careful to avoid leaving fingerprints on glass items or containers. This is because when using a powerful lens for the photo shoot, these errors will get more visible than with bare eyes.
● Lastly, do not use any damaged seal or packaging.
Lack of details in the online presentation
According to basic consumer psychology, relying on online visual presentations is common. However, what if your customer doesn’t get to observe the critical details of your products due to poor representation? Other competitors already have a comprehensive display of their products to serve them. Therefore, from your end, you should take care of the product details on the e-commerce sites.
So, our suggestions are as follows-
● Pay special attention to the mini-functionalities of your product.
● Many items have hidden features or parts that are assembled separately. Hence, take separate photos to showcase the gear, pockets, and accessories from different angles.
● We recommend using an HTML5 viewer to access the 3D view of the product. Since customers can zoom in, rotate, and see what they are buying, the accuracy of the image plays a significant role in their buying decision.
Shadows and reflections go unchecked
Imagine a photo of any jewellery with an excessive white light reflection on the gold. Or, maybe you have seen the image of a bath shower where the shadow is too visible because of light reflections. This reflection issue with studio light systems usually occurs if the product has a high gloss finish.
When managing shadows in the image, making them too deep will also lead to an unwanted aesthetic effect. Consequently, it defeats the purpose of showing details of the product. Product photographers often make mistakes in handling shadows and reflections in these situations.
Another consumer psychology is that consumers are drawn to the original image of a product. Hence, presenting products with unnatural shadows or too much gloss will automatically send the customer to another site offering a more professional and realistic look.
Therefore, here go some steps to sort out this issue:
● To deal with deep shadows, set the main light in a position where it can illuminate the product from every corner.
● Adding some lamps can help with direct lighting if the above hack seems too overwhelming.
● Moreover, proper practice will let you set up the light in the photography studio for a variety of precise effects.
● Lastly, experiment with your lighting plans. To improve, draw patterns and test the possible outcomes.
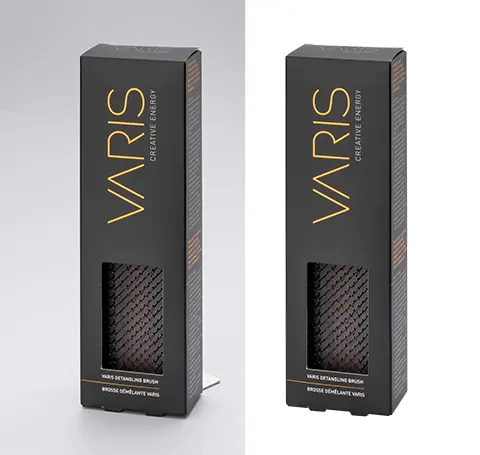
Backgrounds do not show uniformity
In product photography, image backgrounds play a huge role. However, the urge to use extra-flashy backgrounds and fancy props can derail a product photo shoot. This is because the rule ‘less is more’ always applies in this case.
Moreover, e-commerce sites often miss out on uniform backgrounds. For example, some products have a plain white background, while others are photographed outdoors or against different coloured sets. (You can make a combination, though. Details in the next point)
Here are some tips for maintaining your product images’ unified look-
● Simple and clean backgrounds on product images give them an elegant appearance. Hence, white (or light grey) is the best backdrop.
● Remove unnecessary elements from the set to avoid noise and visual distraction.
● You should maintain a consistent presentation regardless of the product type and display style. So, if you ever switch shooting techniques, don’t forget to reshoot the older products.
● Using props can be effective only if you maintain the balance. To clarify, make sure they don’t overshadow your product.
No context shots when required
You have probably heard some stories in social media where some online customers bought miniature items just because of the wrong scale of the product images. It happens due to a lack of context shots and improper scaling.
Sometimes it can be challenging to convince consumers about the real-world applications of some particular items. Then, product photographers use context shots to show how the product is being used in real life. For instance, we can consider a student carrying a bag, a model wearing jewellery and outfits, or accessories placed inside a house.
That is why apart from photos with neutral backgrounds, it is equally important to take context shots to establish the exact product size and purpose. Thus, it will eliminate the possibility of further doubt and save time.
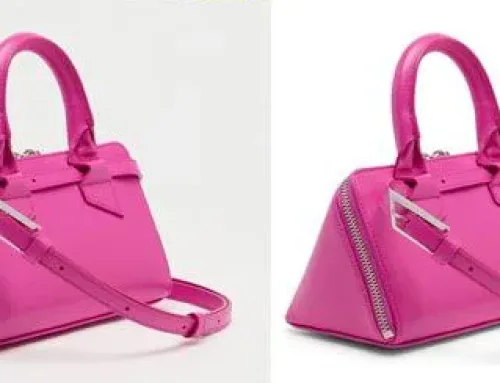
Leaving out the post-processing step
The end of your product photo shoot is not the end of the task. Now, you have to focus on a crucial step: photo retouching, also known as post-processing.
Having wow factors in your product images will determine the success of your sales campaign. Hence, using Photoshop or similar software, you can remove the unavoidable blemishes by retouching the raw images in the editing studio. Plus, you can adjust colour, clarity, and other factors.
However, business owners overlook the importance of meticulously retouched product images. The reason is that although you can accomplish the first part (photography) within a limited period, the second part (retouching) requires much time and careful observation. Moreover, product photo editing requires in-depth knowledge of editing programs, which takes time if you’re a beginner.
So that is why choosing a photo editing company is a wise decision. You can go with it to save your time and resources, as the option of outsourcing your work is always open.
Wrap up
Here in this blog, we have presented the art of unlearning in product photography. Hopefully, this guide will help your next photo shoot to be successful. Also, we are just a click away from retouching your product photos at a reasonable price.
At Fotomasking, we offer excellent image editing services for your eCommerce business. So, don’t forget to contact us next time you need to edit your bulk product photos so that we can simplify your life. Until next time!
Courtesy
Pixabay, Google


