10 Image Optimization Tips for Your Ecommerce Website
Images are the lifeblood of the web, no doubt. Imagine a site with no visuals or graphics – just text. Will you feel the urge to check out the rest of the site? We guess not. However, if not correctly optimized, great visuals can bog down a website’s loading speed. Therefore, we need image optimization to boost a website’s visual appeal.
This article is a comprehensive guide to optimizing eCommerce images. We have added the most useful tips here. Also, in the end, you will get an organized list of the necessary tools for this task. Now let’s get to it. Hop on to discover more!

What is Image Optimization?
While it is common to get confused between eCommerce image editing and optimizing image, both are equally important. We recommend going through our blog if you are particularly interested in eCommerce image editing.
Back to the discussion. Image optimization is a technique for minimizing file size without losing quality. This technique involves multiple steps, like using fewer colors, adjusting the resolution, and compressing it. You can do it while editing photos or uploading them to your site.
Why is Image Optimization Crucial?
You can impact a bunch of SEO factors with image optimization for eCommerce. Optimizing your site like this can enhance both its performance and user experience. But how? It’s time to dig in!
-
Proper image optimization helps load pages quickly
Image optimization significantly affects page loading time. So, what happens when the site loads slowly or has unoptimized, unnecessary high-resolution images? Let’s answer this question through some stats and facts:
- According to a recent survey of the developers of Unbounce, 82% of consumers say slow page speeds impact their purchasing decisions.
- An old KISSmetrics survey shows that 73% of mobile users experience slow sites.
- Studies have shown that there’s a global increase in web page speed. In addition, Google gives a lot of weight to a page’s load time. Thus, websites must load quickly to rank high and gain more traffic.
- According to Amazon, it’d lose $1.6 billion yearly for a one-second delay in page loading.
So now you know. There’s no excuse to skip image optimization.
-
A better search experience
Optimizing images is crucial to SEO. In turn, you get more traffic to your site and more traffic and sales.
So, how does it make a difference? Let’s discuss some recent data here.
- As per recent data, images appear in 32% of Google searches.
- A readable text comes with optimized images as they break down long texts.
- Additionally, high-quality images establish your brand’s identity and compelling visual style.
- As well, Google recently introduced the visual search feature. So, almost 62% of Gen Z consumers prefer visual search over anything else.
-
You can get away from bandwidth limits
This reason is directly related to your profits. Besides slow loading time, all the images use up storage space on your server. And almost all hosting service providers offer limited bandwidth plans. And that is when your image size comes into play.
Well, you can exceed that limit. But of course, at an additional charge. However, on-point image optimization lets you use your site storage to the max.
How to do Image Optimization for the Web ?
Now we are starting the most exciting part of this article. Stay tuned till the last to find out the best practices for optimizing your images for eCommerce businesses.
-
Make your image names descriptive and concise
To begin with, correctly naming the website product images is essential. So, while uploading the images, the image title should be:
- Descriptive
- Keyword – packed
- Relevant
When you check all three, the image will be more visible. Thus, you’ll have a higher webpage rank in search engines. This is because search engines crawl both your webpage text and image titles.
Aside from that, try to incorporate consumers’ buying psychology. Analyze the site analytics to figure out what keywords your visitors use. And then try to answer questions like-
- What is the most commonly used product search term?
- Is there a common naming pattern?
For instance,
- If your customer searches for “running shoes” on your eCommerce website, it will filter the results and only show results that match the search.
- Next, people who can use advanced search can try: “Men running shoes”.
- For more specific searches, they can search by brand name: “Men running shoes Nike”.
- Lastly, they can search by a series or model name like: “Men running shoes”, “Nike Revolution”.
- To be more specific, they can even use a model or series name: “Nike Men’s Revolution 5 Running Shoe”.
With our in-depth search, here’s what we found:
Hence, your product image name should have the following:

The title with the product name (shoes)+ purpose (running/swimming/ workout) + brand (Nike/Adidas) + model/series number (Revolution 5) + other specifics (male, female, unisex etc.)
As a starting point, applying our simple formula can do the work.
-
Your images should have alt text
ECommerce image optimization relies heavily on the alt attribute on each product picture. Hence, keyword-rich, relevant alt attributes can boost your search engine rankings.
Alt attributes are your best bet for indexing your eCommerce products. This is because if an image can’t be loaded, alt text describes it. Users with visual impairments may better understand your content with this. Moreover, it boosts web accessibility.
But how to write this? Here we go with the basics:
- Like image file naming, keep the description plain and simple.
- Including model numbers/product serial numbers is a plus.
- Avoid keyword stuffing. For example: (alt=”Nike Men’s Revolution 5 Running Shoe crazy deals amazing discounts best buy“).
- Be careful not to use alt attributes with decorative images.
- Lastly, check regularly from the webpage source if your alt attributes are accurate.
-
Thumbnail optimization is necessary
ECommerce shops usually use thumbnail images to showcase products on the category pages quickly. Despite being an advantage, it can also affect page loading speed. In addition, if your site’s response time is slow, customers might leave. Here’s what to do:
- Reduce the size of your thumbnails. Keep in mind that thumbnails have a huge impact on page load time.
- Alter your thumbnail alt attribute so it differs entirely from the text on the bigger version. This is because you don’t want that low-quality thumbnail image to get indexed before the main image.
-
Adjust the size of the pictures
Imagine, as an eCommerce retailer, having a page loading time of 10 seconds because your website contains large images. That is pretty much like forgetting that potential customer!
Hence, it is crucial to resize the images before uploading them. Consequently, your site will load faster. In general, keep file sizes below or near 70 KB.
Here are some image resizer tools you can use to resize image.
- For advanced editors, Photoshop comes in handy.
- For Mac users, Preview is an excellent option.
- Paint, a default app in Windows.
- Adobe Express – enables free and versatile image resizing
- And last but not least, Canva and BeFunky. You can use them for free, and they’re convenient.
-
Get the correct image file type
We all know the common web file types: JPEG, PNG, and GIF. Let’s discuss how to use them for your site image optimization.
JPEGs
JPEG is the best format for displaying high-quality color pictures on your website. Furthermore, this type of image offers a high-quality image with a minimal file size. Apart from product images with a transparent background, you can use JPEGs almost everywhere.
Here’s a tip: When exporting JPEG images, choose the “Progressive” option. That way, you get a quick preview of the image before it loads full size on the site. Photoshop users can find this option while exporting images as ”save for web.”
PNGs
Some things to remember when using PNGs:
- This format works best with transparent background images.
- Also, with flat illustrations, logos, and icons, PNGs work great.
- The image dimensions must be accurate.
- And lastly, it is better to save the image file as PNG-8/PNG-24.
GIFs
As this format only supports 256 colors, you’ve got to be picky. Here’s what to remember about GIFs:
- The GIF’s length
- Whether the images need auto-looping
- How many GIFs are necessary on your page/site
-
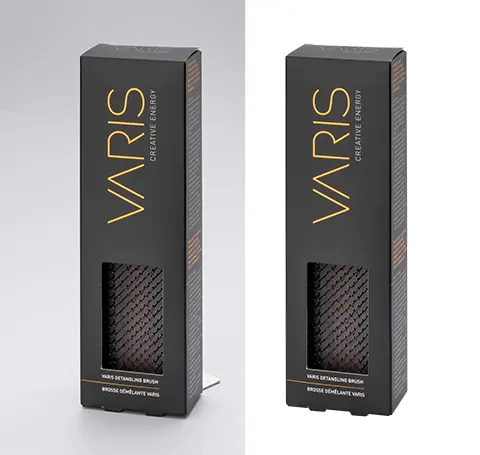
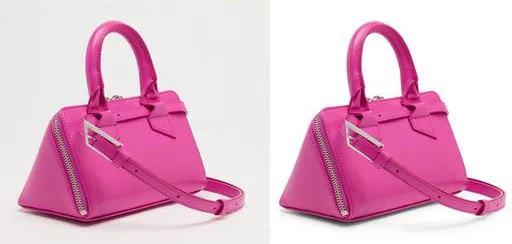
Reduce the size of decorative images
Decorative images refer to website buttons, borders, and background-type non-product images which offer an aesthetic vibe to the page. However, combinedly, they can turn into a large file, which slows down the page loading time.
So, here go some hacks to manage this-
- Whenever possible, swap decorative images with CSS for colored sections.
- In case of borders and other simple layouts, keep the file format PNG-8 or GIF.
- Compress the large wallpaper-type background images. And don’t worry, compressing them won’t compromise the quality. Take a look at the last section for image-compressing tools.
- An alternative technique to make images smaller is to remove the middle part. Transparent or flat, you can make it either way.
-
Maximize the potential of image sitemaps
An image sitemap is a fantastic way to get into a Google ranking position. So, if your site has features like image pop-ups, a Javascript gallery or any other kinds of visuals for consumer’s enhanced shopping experience, you should include sitemaps.
However, while image sitemaps won’t guarantee Google will index your site, this step enables advanced image SEO. Let’s see how to work with image sitemaps:
- If you want Google to find your image information more efficiently, use Google sitemaps.
- Moreover, you can follow Google Webmaster Tools suggestions to learn sitemap formation.
- Also, if you want crawlers to locate unidentified images, listing their location on the sitemap is essential. For example, here’s a code below to use in your robots.txt file, indicating your sitemap’s path.
Sitemap: http://example.com/sitemap_location.xml
- As an alternative, use Google Search Console for sitemap submissions.
- Lastly, add relevant information, including targeted tags, when creating or updating any sitemap.
-
Ensure that you use CDNs with caution
Content delivery networks, or CDNs, provide media hosting services and can boost page loading speeds and fix bandwidth problems.
However, it doesn’t do well with backlinks. To clarify, using CDNs for image storage mostly means removing your site’s images from the website domain and storing them in a CDN domain. Hence, when people link to your image, they are, in fact, linking to CDN.
So, here’s what you need to know:
- Do not always go with what’s trending. Check if that works for your business.
- CDN is not a viable option unless your website is smashing it.
- Taking advantage of CDNs can have its perks, but consult an expert before making the switch.
-
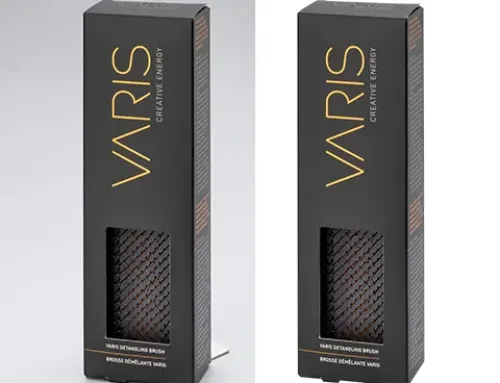
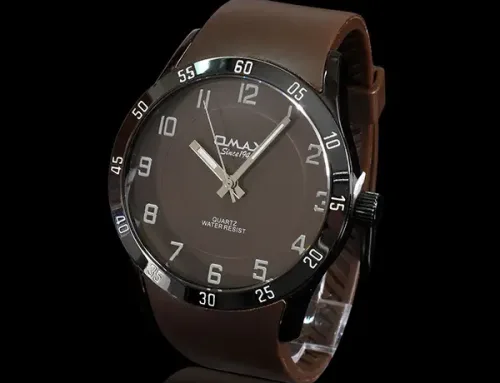
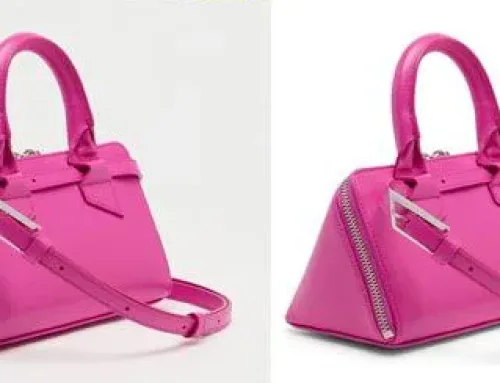
Be smart about your product angles and image dimensions
Here are some quick tips:
- Make sure your product’s dimensions are the same from all angles. It keeps everything consistent and gets your customers’ attention.
- Give the user a zoom- or hover-over option.
- As well, make sure to include close-ups.
- Check each store’s guidelines to ensure your photos have the correct dimensions.
- And leverage these extra photos by using their alt attributes. Try to come up with distinctive alt attributes for every picture.
-
And lastly, test all image-related outputs
In the above discussion, we talked extensively about image optimization. And whether it’s image or content optimization, it’s all about increasing revenue. So now, figuring out what works best for your business and customers is crucial. What you can do is:
- By conducting a test survey, ask your customers about their favorite product shots and page view types.
- Check if a page has enough images. Sometimes, putting fewer images per page can increase engagement and profits. Alternatively, providing plenty of product photos per page may enhance consumer experience and increase sales. In either case, you won’t know unless you experiment with it.
Necessary Plugins and Tools
Listed below are some tools that will ease the optimization process.
- Adobe Photoshop
- Kraken
- JPEG Optimizer
- Optimizilla
- Kraken.io
- JPEGmini
- Optimole
- ImageRecycle
- CompressNow
- Trimage
- RIOT
- Online Image Optimizer
- Tiny PNG
- Resize Photos
- Caesium Image Compressor
- Pixillion
- TinyImage
- EWWW Image Optimizer Cloud
- Imagify
As this list can be helpful, research before choosing any plugins for your site or trying new tools. Some tools and plugins are free, and some have premium features.
All of the above tools have their pros and cons. For instance, the popular tool Tiny PNG works best with PNGs (as the name suggests). For compressing JPEG files, Kraken.io rocks. Furthermore, with Optimizilla, you can reproduce great-quality images with minimal file size. Therefore, your requirements ultimately matter.
Wrap Up
The concept of SEO has become commonplace in the internet world. However, image optimization may not be a buzzword yet, but it is undeniably a game changer in improving website performance.
After navigating through all the giant discussions above, you know it is no easy feat. An effective optimization strategy requires a lot of technical knowledge and relevant tools. Moreover, it involves creating images for the intended audience.
We hope this comprehensive guide can be your partner on your eCommerce journey.
Shopify, Moz, Wpengine