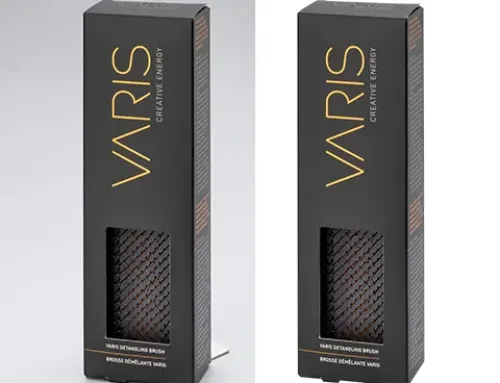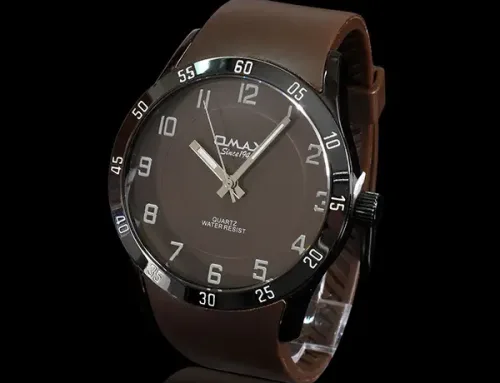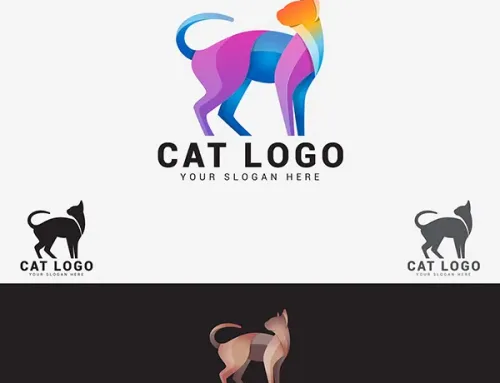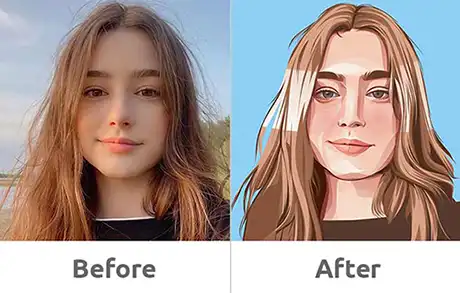

Image Trace in Adobe Illustrator helps you in converting raster images to vector artwork. This means you can take scans of sketches, illustrations, and even images and convert them into vector art, which can further be edited. Previously, Image Trace was also known as Live Trace. Vector artwork is made up of mathematical paths that enable the design to be measured in an infinite range while maintaining its quality.
Options for How to Trace Images in Adobe Illustrator
There are two options for how to trace images in Adobe Illustrator:
1) Placing an image as a template.
2) Using Trace Image.
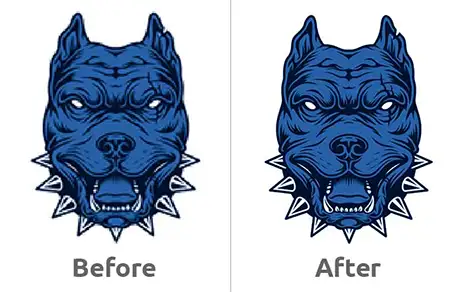

Follow these simple steps to Trace an Image in Illustrator
STEP 1: Import the raster image into Illustrator
Import the image you want to convert to a vector artwork by navigating to File >Place.
STEP 2: Trace Image
To create your vector, select your image, and navigate to Window >Image Trace. Make sure you have chosen the Auto-color setting at the top of the panel. After choosing it, click Preview to see how your tracing will appear like.
After you are satisfied with the Preview result, click Trace.
STEP 3: Expanding the Image
Once, you finalize the design so that you can work further, navigate to Object>Ungroup. Ungroup the image twice, make sure to navigate Ungroup for a second time too.
Nonetheless, you will now be able to alter your vector according to your choice.
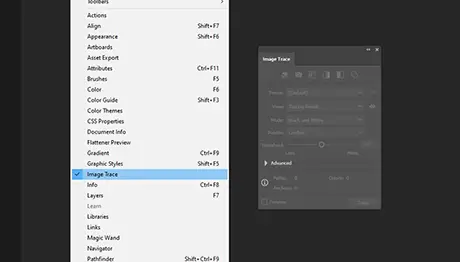

Some Specific Image Trace Options
You can now expose additional options to make your vector according to your expectations:
• PRESET
You can specify a tracing preset. The icons located across the top panel are shortcuts. Choose one of these presets which will later set all the variables to produce the related tracing result. Some names of the preset:
• Auto- Color – Creates a posterized Image.
• Grayscale – Traces the vector artwork to shades of Gray.
• High/Low color –High color creates photorealistic artwork of high fidelity, whereas low color simplifies it.
• Black And White – Simplifies the image to black-and-white work.
• Outline –simplifies the image to black outlines.
Pro tip: Find the 6 best mind-blowing AI based Image-editing apps in 2024. More details in this article – Best Image-Editing Apps.
•VIEW
A tracing object is made up of two components: the source image and vector artwork. You can choose to view the tracing result, outlines, source image, and other options. You can click the eye icon to overlay the selected view over the source image.
• PATHS
Paths help in controlling the distance between the traces and the original pixel shape. It has two values i.e. higher values and lower values. Higher values createa tight path whereas lower values create a loose path.
• NOISE
Some areas that are ignored while tracings can be done with noise which identifies the required area in pixels. Higher value results in less noise which means a clear picture.
• MODE
This gives color mode for the tracing result. Some Mode options are:
• Grays – Number of grays to use in a grayscale tracing result. You can only go for this option when the Mode is set to Grayscale.
• Color– Number of colors to use in a color tracing result. Again, you can go for this option when the Mode is set to Color.
• Threshold – Generating a black-and-white trace result from the original image. Pixels with light values will convert to white, and pixels with great threshold values will convert to black. You can for this option when the Mode is set to Threshold only.
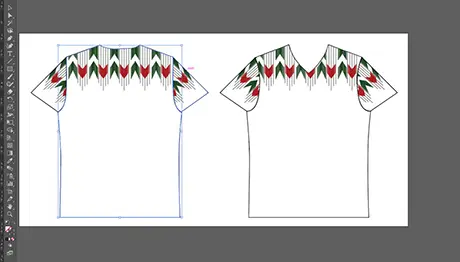

• PALETTE
Produces a color or grayscale tracing from the original image. To avail of this, the Mode should be set to grayscale or color. There are four options you can opt for i.e. Full tone, Automatic, Limited, and Document Library.
• FILLS
Formulates filled regions in the tracing result.
• STROKES
Formulates stroked paths in the tracing result.
• STROKE
Identifies the maximum width of features in the original image that can be stroked. Elements larger than the maximum width become sketched areas in the tracing result.
• CORNERS
It emphasizes corners and the likeliness that a sharp bend will turn into a corner point. A higher value yields more corners.
• METHODS
It gives methods to the tracing. There are two preset:
• Abducting – This creates cutouts paths. One edge of a path is similar to the neighboring one.
• Overlapping – This creates stacked paths. One path overlaps the other.
•SNAP CURVES TO LINES
Negligibly curved lines are restored with straight lines. Lines that are near to 0 or 90 degrees are snapped to absolute 0 or 90 degrees.
This option is the best for geometric artworks.
•IGNORE WHITE
Identifies if white fills spaces are restored with no fills.
Voila, that’s it. Do you want to get your picture edited without any fuss or you don’t want to get your hands on the mundane vector tasks? Or if you need specific Image clipping path, please read our blog – Step-by-step- guide How to draw Clipping path in Photoshop.
If that is the case then visit Redraw2vector.com to get your work done. Redraw to Vector is a team of highly skilled graphic designers, and is solely focused on converting pixel-based images into scalable and vector files. They can recreate your low-mid quality image with the utmost precision and timely manner.
Image courtesy
Redraw2Vector

